Set-up new Email Account
Basic email account set up procedure:
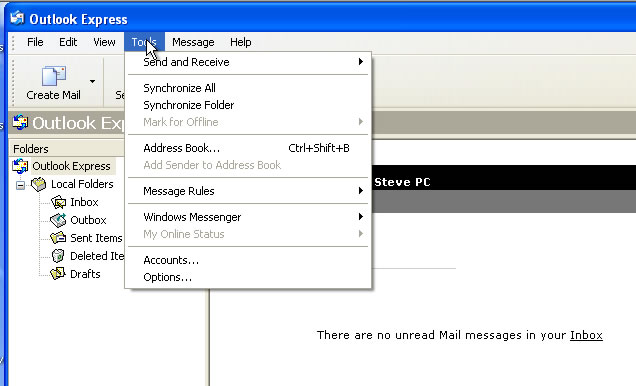
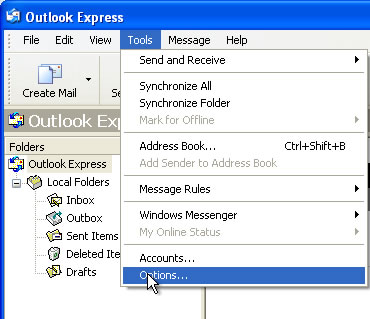
Select Tools > Accounts >
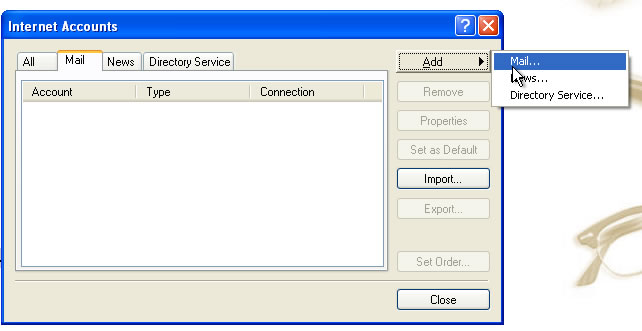
Mail tab > Add > Mail
The next two pages ask for your name (full name) and the email account you are setting up. Then you will see the following page. Add the details that reference your domain (website) name with the prefix of "mail" or "smtp" in the appropriate location:
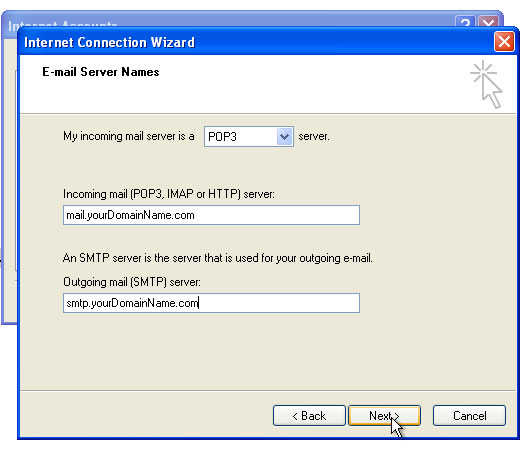
Next, enter your full email address as this is also your login ID. Enter your password and click "next"
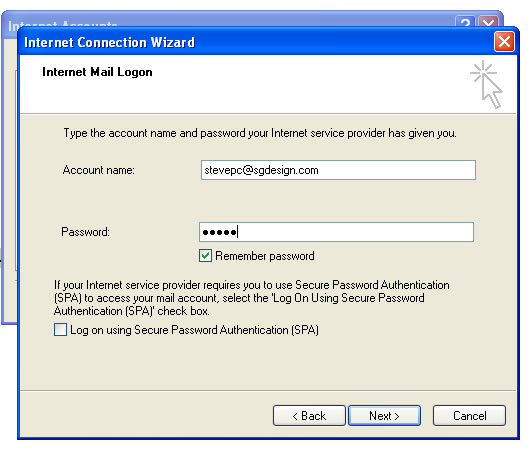
Click next
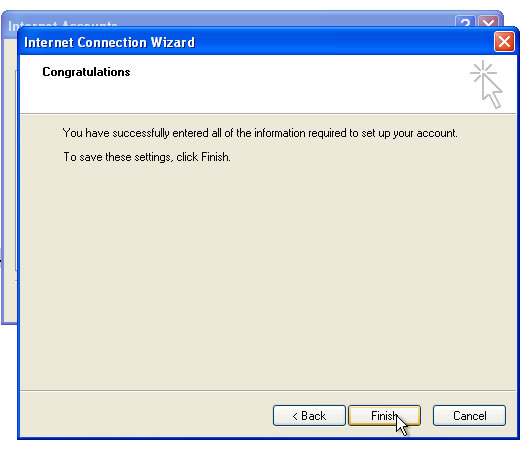
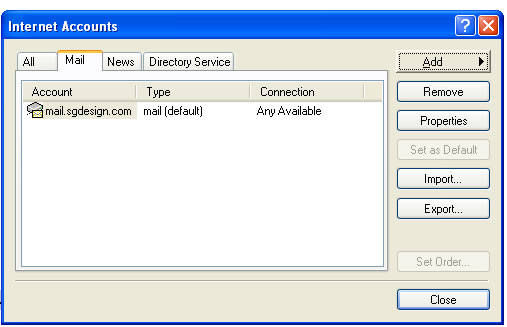
And this will then have completed the basic account creation. You will now see your new account in the prior page / mail tab:
There is one more critical step which is to use authentication when sending mail. We don't want people using your account so we ask for user and password credentials when sending mail.
Select / highlight the account you just created and click on the Properties button on the right. In some cases it is a button that says "Change".
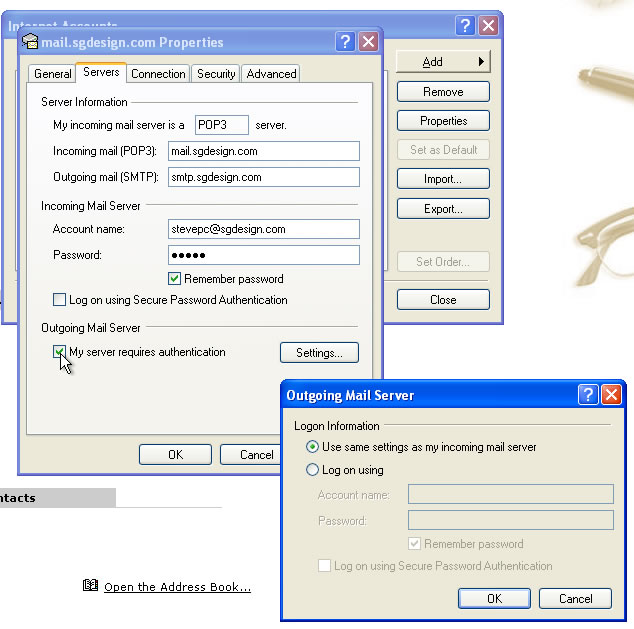
On the following screen , click on the Server tab and then make sure the Outgoing Mail Server has the check box selected that says "My server requires authentication". In most cases you will need to make no further changes as the default will now use the same credentials you used to "get" your mail, when your "send". The Settings button is shown open to show you these defaults.
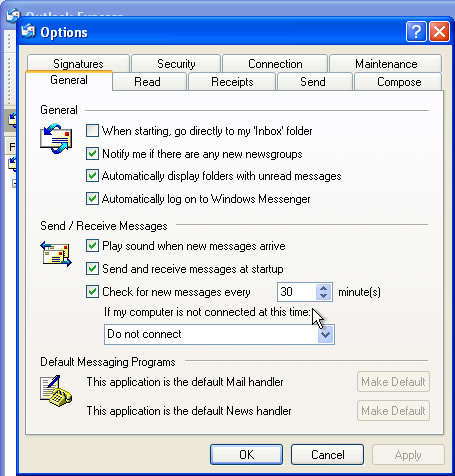
Additional Helpful Settings:
It's suggested that you do not change the frequency of checking mail. It will cause problems if you are receiving a large email and then ask the server to check automatically before the prior mail is complete. Corruptions and duplicate mail are some of the results of such settings. 15 minutes is acceptable if you have a fast connection and do not expect large downloads.