Shared Calendars
We’re running SmarterMail Enterprise which allows you access to shared Calendars (and other advanced features).
If your looking to share a Company Calendar with your Employees or even a Family Calendar, please review the help section pertaining to this feature.
Here’s a brief walkthrough on how to Share a Calendar:
SmarterMail gives users the ability to share their own calendar, or calendars, with others who share the same domain name. In addition, users can “map” calendars that others share so that appointments made on those calendars also appear in the calendar interface.
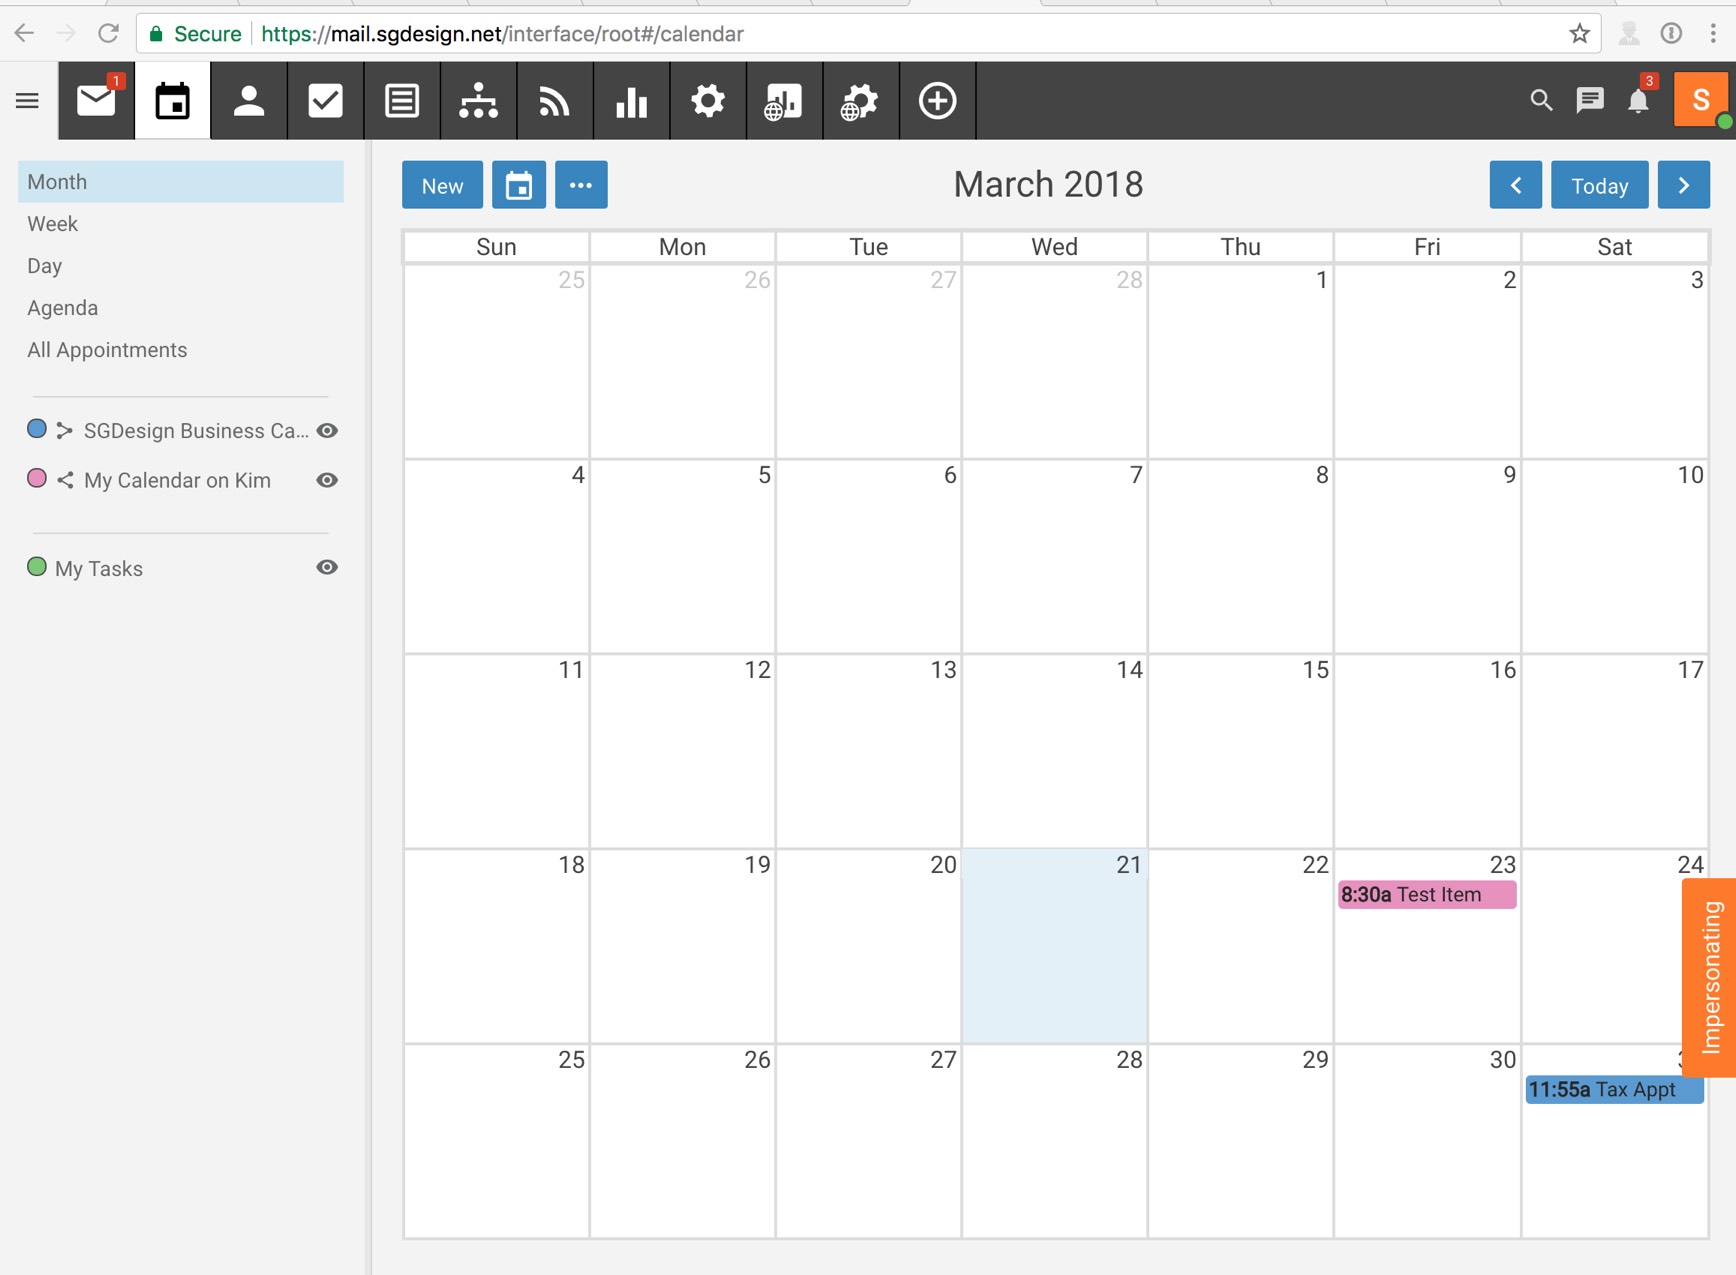
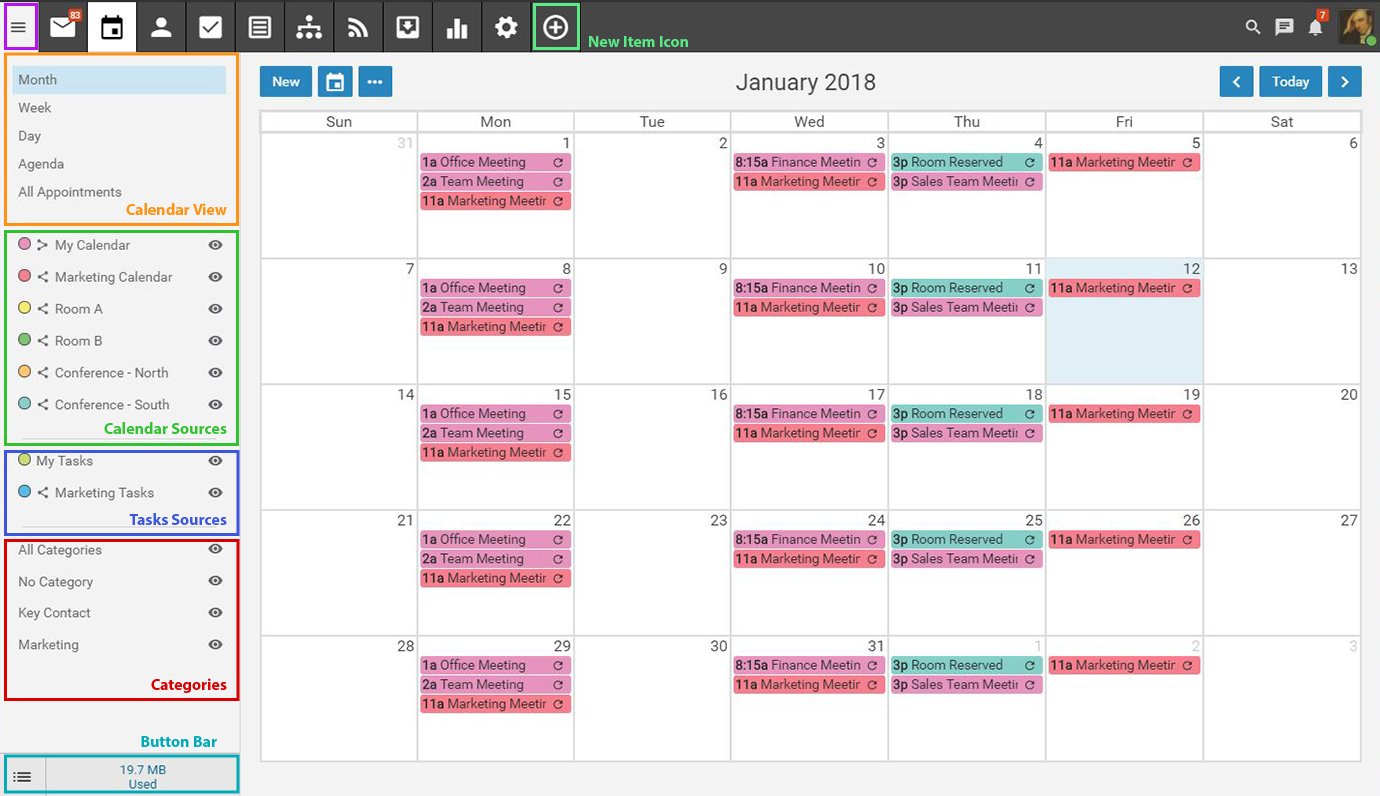
Shared calendars appear under the Calendar View area. By default, each user has a personal calendar called “My Calendar.” This is where you create your daily, weekly, recurring, etc. appointments. You have the ability to share this calendar with others, or you can create additional calendars and share those as well. You can also “map” a calendar someone shares with you so that appointments created in that calendar also appear in your calendar view. Any calendars shared with you will also appear in this list. For more information on how to share your calendar, or map to a shared calendar, take a look at the Shared Resources page in this help documentation.
Link to Shared Resources help
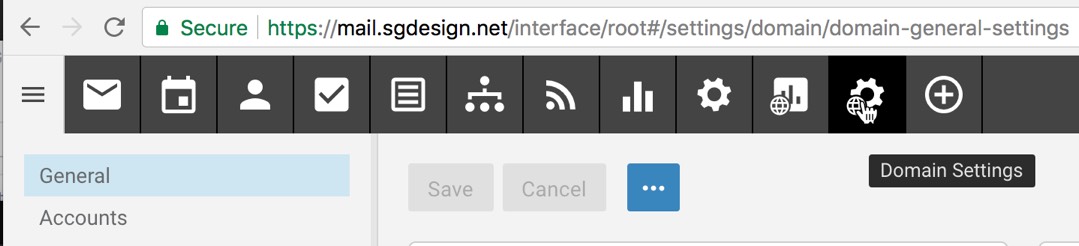
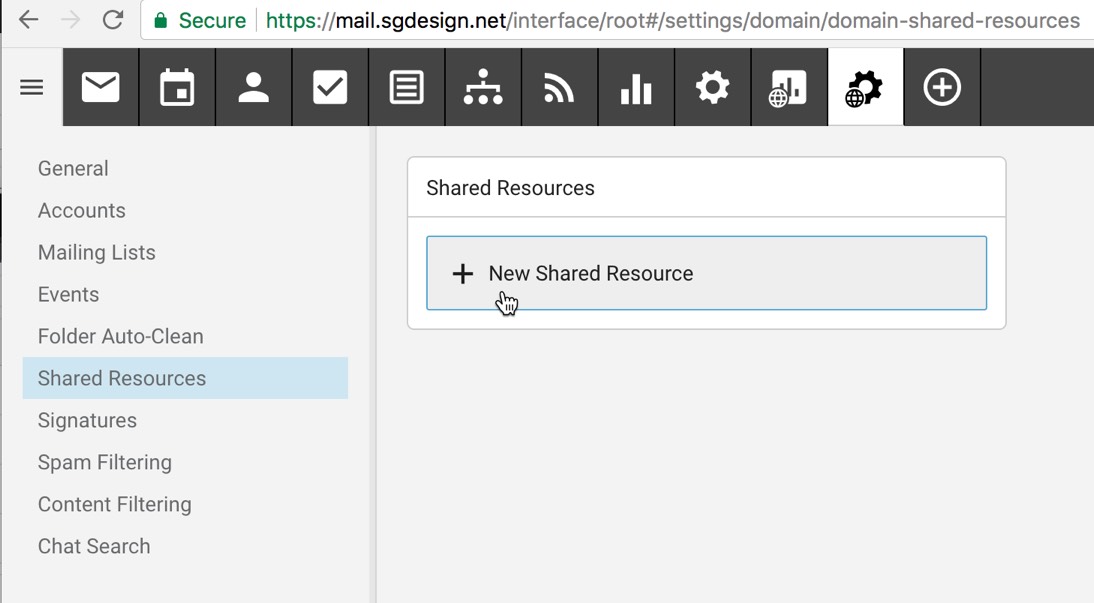
- Click your Settings Tab
2. Shared Resources link on the left panel
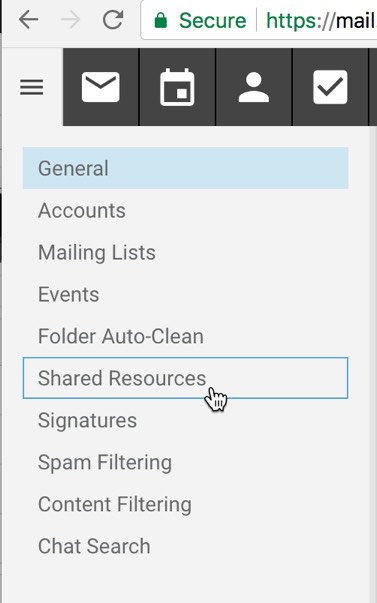
3. Create a new Shared Resource
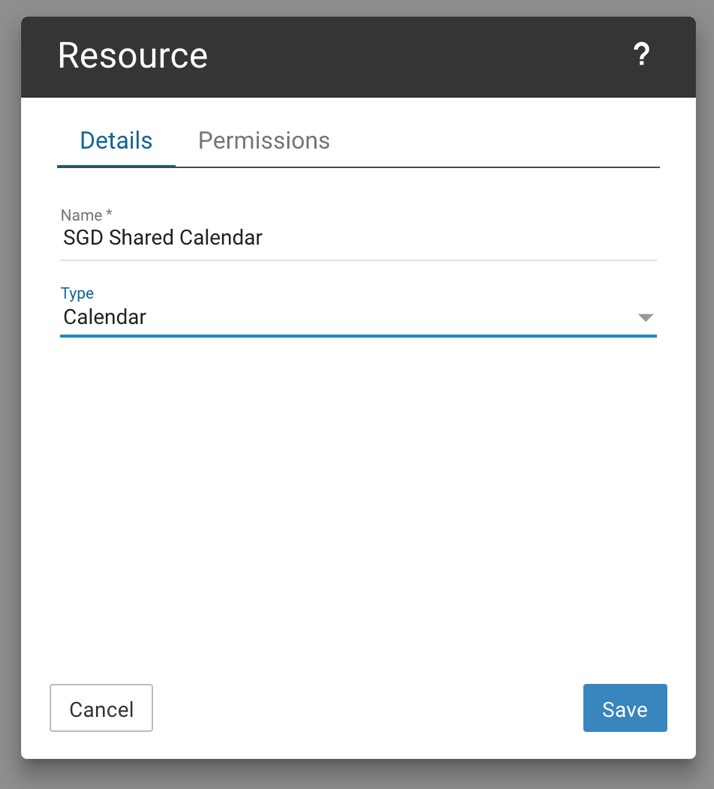
4. Select the Type and Name your new Shared Resource
5. Set your Users or Group that will have access to this resource

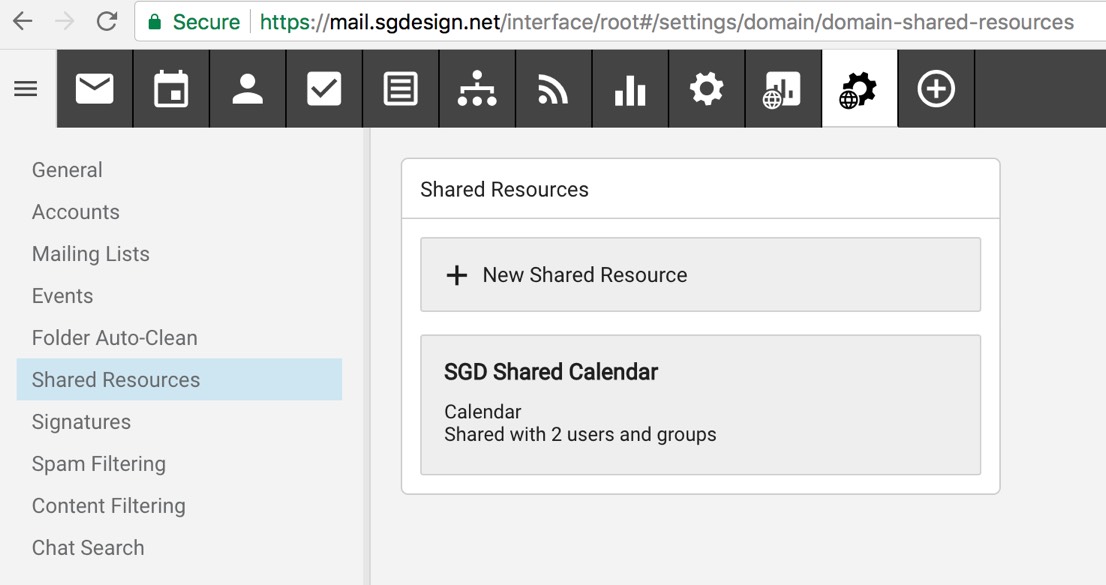
6. After selecting Save we see our new Resource
7. Your Shared Calendar will have a new icon next to it allowing you to know it is now a Shared Resource. Depending on which way the icon faces you can determine if it’s your resource being shared or if you are bound to another persons resource.
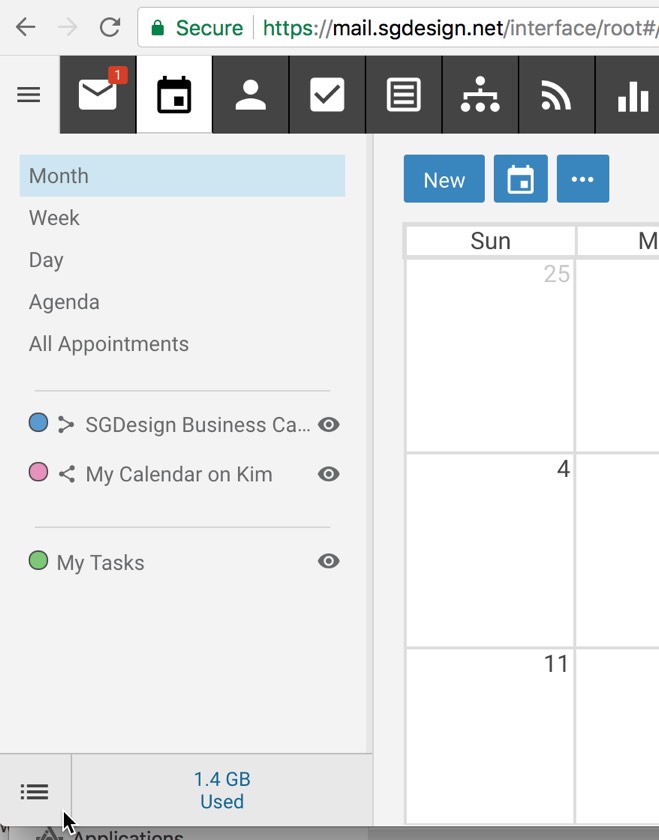
8. IMPORTANT – For a Shared Resource to be accessible, that Resource needs to be “Mapped” to your account. To enable this feature, click the icon in the lower Left area of your window (Viewport).
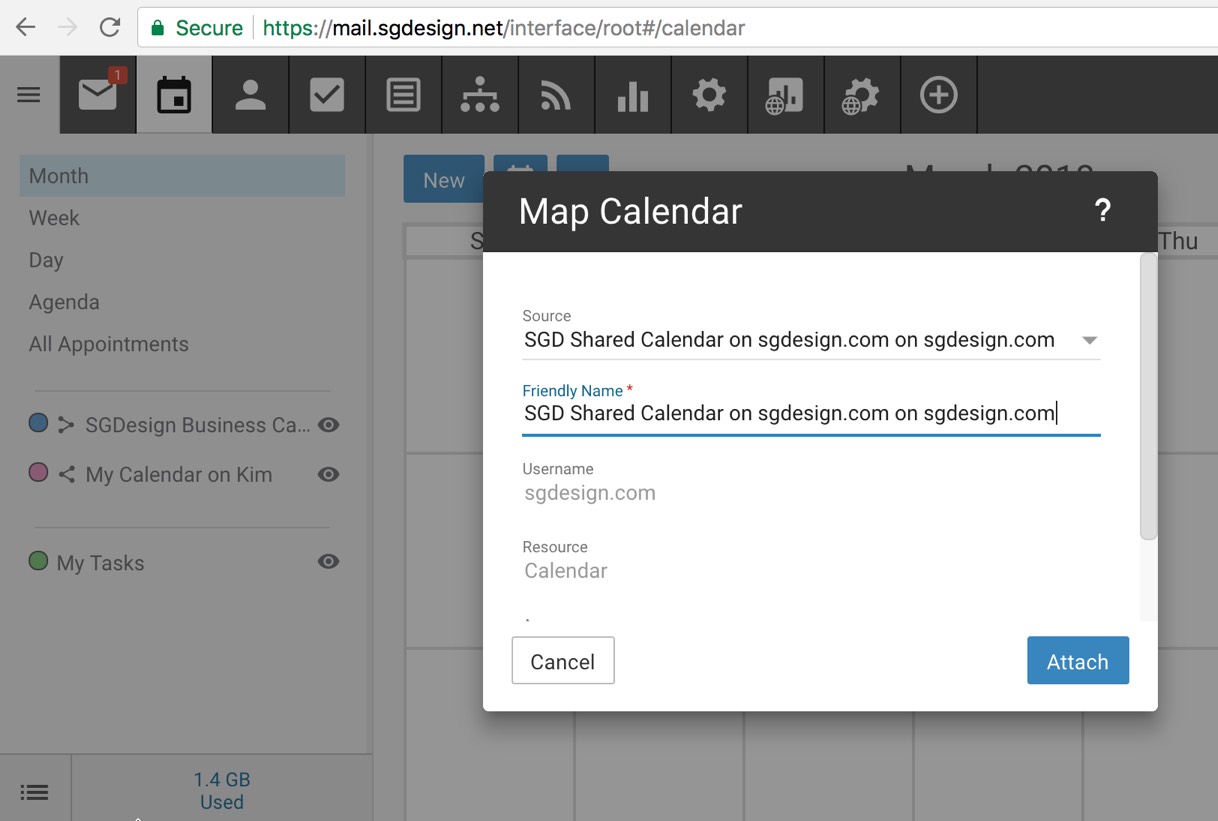
9. Once attaching the new Resource, You’ll now see shared date information. These are also color coded to help distinguish between those resources that are yours and those that are from a Shared Resource.